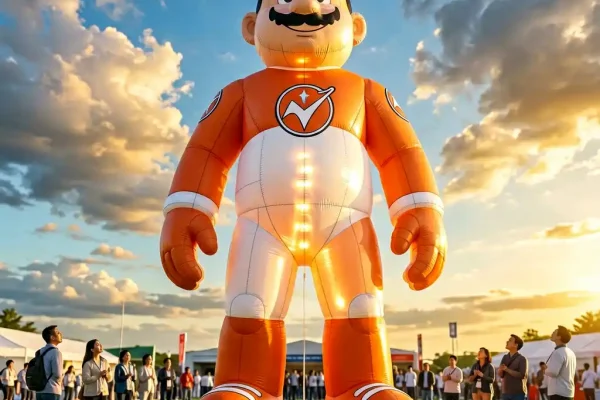
Inflatable Sculpture

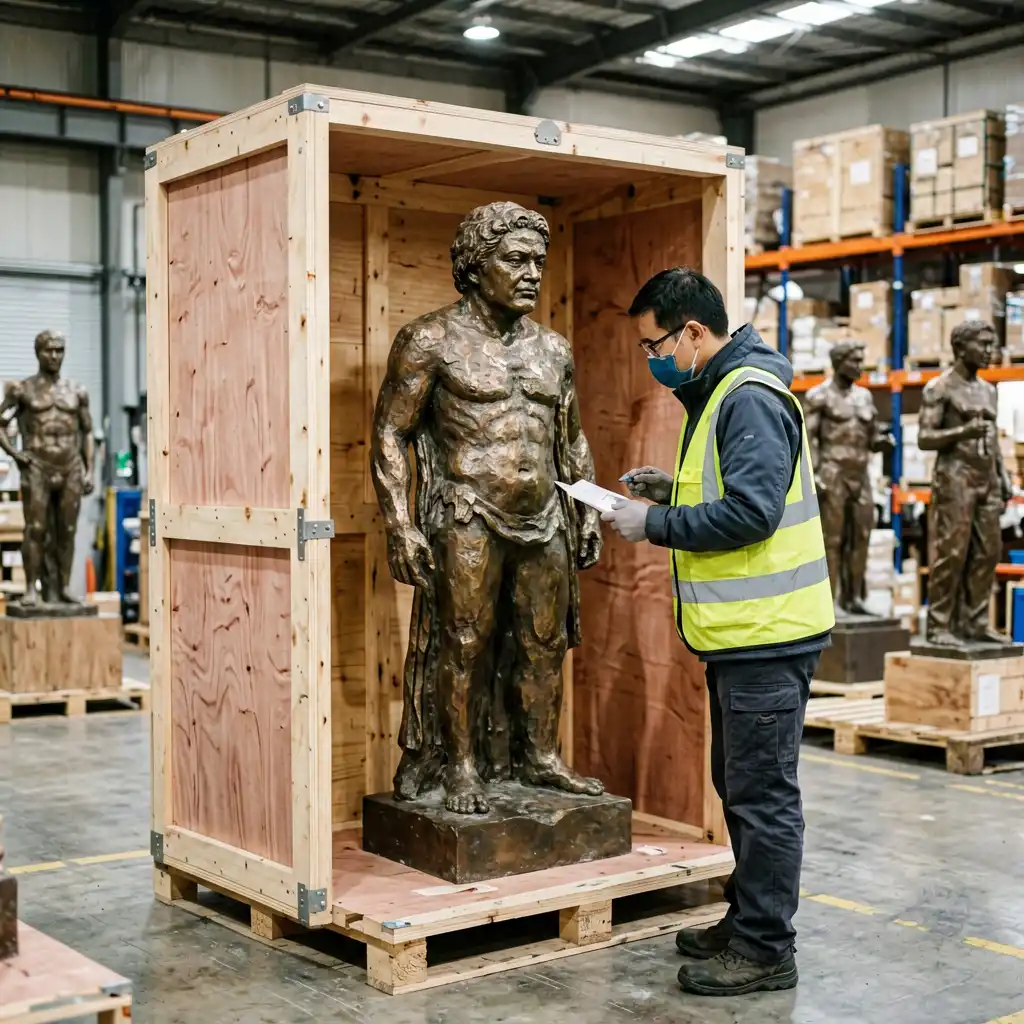
I’ve been working in sculpture quality control for eleven years. I’m the guy who walks around a 14-foot fiberglass giraffe with a flashlight at 2 AM, checking every weld, every seam, every surface imperfection before it gets wrapped in foam and loaded onto a truck to some museum or theme park on the other side of the world.
Most buyers never see what happens between “the sculpture is finished” and “it arrives at your door.” They assume if it looks good in the factory photos, everything is fine. But I’ve seen the shipments that went wrong — the cracked resin from improper crating, the corroded stainless from insufficient protective coating, the bronze that arrived with a green patina nobody asked for (and not the good kind).
So here is exactly what we check before your sculpture ships, and what you should be asking your manufacturer about. This is not the sales pitch version. This is the QC guy’s version.
People think QC is one guy walking around nodding at things. In a proper sculpture factory — the kind that ships internationally and has repeat clients — it’s a documented process with multiple stages and actual paperwork. Every inspection gets logged, photographed, and signed off before the piece moves to the next stage. I’ve personally written thousands of these inspection reports, and they follow a structure that covers every risk point from raw material to closed crate. Our quality control guide — Quality Control Checklist for Large Sculpture Manufacturing — details every inspection stage from raw material to pre-shipment.
| Stage | What Gets Checked | Who Does It | Time Required |
|---|---|---|---|
| 1. Raw Material Inspectio | FRP resin batch quality, stainless steel grade verification (304 vs 316), bronze alloy composition, reinforcement materials | Materials QC | 1 day |
| 2. In-Process Check | Armature weld integrity, fiberglass layup thickness, gel coat application evenness, geometry alignment | Production Supervisor | 2-3 days |
| 3. Surface Finish Final | Pinholes, air bubbles, uneven texture, color match to approved samples, seam line eliminatio | Surface QC Specialist | 1-2 days |
| 4. Structural Load Test | Weight distribution, anchor point pull-test, wind load simulation, thermal expansion check | Structural Engineer | 1 day |
| 5. Final Visual QC | Full photographic documentation, measurement verification, defect check under 45° lighting, touch-up sign-off | Lead QC Inspector | 1 day |
| 6. Packing & Crating | Crate structural integrity, internal bracing points, foam cushioning coverage, moisture barrier seal, handling labels | Shipping QC | 1 day |
Factory photos — especially the ones you see on listings and social media — are taken under ideal conditions. Perfect lighting, careful angles, often with polish or wax applied just for the photoshoot. The real test is what the surface looks like under a work light at forty-five degrees, after the polish has been wiped off.
Here are the defects I catch every week that would never show up in a product photo:
These are tiny air bubbles trapped in the gel coat. They look like pinpricks — a millimeter or less across. When the sculpture is outdoors and exposed to rain and sun, these pinholes collect moisture and dirt. Over a year or two, they turn into dark spots that can’t be cleaned off. The fix is proper vacuum bagging during the gel coat application, which most budget factories skip because it adds time and equipment cost.
The tell: if you run your hand over the surface and it feels slightly rough or “pebbly” in places, that’s porosity. A properly finished FRP surface should feel as smooth as a car’s paint job.
This is when the fiberglass mat wasn’t fully saturated with resin. The result is a dry, whitish area that looks harmless but has dramatically reduced structural strength. Starved laminate is the leading cause of cracking in FRP sculptures during transport, because the vibration of shipping finds these weak spots and fractures them.
I once inspected a shipment of large animal sculptures for a zoo project where two giraffe legs had starved laminate at the connection points. If those had shipped as-is, one good road bump and those legs would have snapped clean off. We caught it, stripped the affected areas, and re-laid the fiberglass. Added a week to the timeline but saved a six-figure replacement cost.
Large sculptures are made in sections. A well-made mold aligns perfectly, and the seam lines are sanded flush and re-coated so they’re invisible. A rushed job leaves visible seam lines that get painted over but reappear when the paint settles or temperature changes cause differential expansion. For commercial sculpture installations in malls and hotel lobbies where visitors walk within touching distance, visible seam lines are unacceptable — they break the illusion and make the piece look cheap.
The internal armature is the skeleton of the sculpture. It’s what keeps the piece standing, not the visible fiberglass or metal skin. And it’s also the part that’s easiest to cut corners on, because nobody sees it once the sculpture is finished.
In a quality-controlled piece, the armature checklist includes:
Here’s a truth that shipping companies won’t tell you: most sculpture damage doesn’t happen on the ocean or during the long-haul truck portion of the journey. It happens during the three or four loading, unloading, and customs inspection events that every international shipment goes through.
In China especially, inspections at both departure and arrival ports mean your crate will be opened, partially unstrapped, and re-secured by people who have no idea what’s inside and no reason to be careful. The crate is your sculpture’s only bodyguard through all of that.
| Feature | Budget Crate ($500-800) | Export-Grade Crate ($1,500-2,500) |
|---|---|---|
| Plywood thickness | 6-9mm (1/4-3/8″) | 15-18mm (5/8-3/4″) |
| Internal frame | None or partial | Full perimeter with cross-bracing |
| Foam type | Open-cell polyurethane | Closed-cell polyethylene |
| Foam thickness | 25-30mm | 50-80mm, custom-contour cut |
| Moisture protectio | None | Plastic vapor barrier + desiccant packs |
| Securing method | Straps or wedges | Bolted through base plate |
| Weight capacity | 200-500 kg | 1000-3000 kg |
| Stackable | No | Yes (with reinforcement) |
Public art sculpture projects often cross international borders, which introduces a whole set of considerations beyond just the physical protection of the piece. Customs regulations vary by country — some require certificates of origin, others want material safety data sheets for resins and paints, and a few countries have restrictions on certain bronze alloys due to lead content.
Here’s what I’ve learned from tracking shipments across thirty-plus countries:
You don’t need to fly to China and spend a week at the factory to do effective QC. Here’s the checklist I send to every buyer who asks:
Here’s something that surprises most buyers: the factory’s warranty covers manufacturing defects — delamination, structural failure, material defects that weren’t caused by external forces. It does NOT cover shipping damage. That’s what freight insurance is for.
Make sure your freight forwarder provides all-risk marine cargo insurance, not just total-loss or general-average coverage. I’ve seen “minor” cosmetic damage claims denied because the policy only covered total loss. For a commercial sculpture installatio
where a single damaged panel can delay a mall or hotel opening by weeks, the cost of proper insurance is trivial compared to the delay costs.
For a standard 2-4 meter FRP sculpture, count on 5-8 working days for the full QC and crating process. Large or complex pieces (over 6 meters, multi-material, intricate surface treatments) need 10-14 days. This is one of those things where rushing causes problems — a manufacturer who promises to have your sculpture QC’d and crated in 48 hours is probably skipping steps.
Absolutely. Third-party inspection companies operate in all major Chinese manufacturing regions. SGS and Bureau Veritas have offices in Guangzhou, Shenzhen, and Shanghai. Cost is typically $500-$1,500 depending on proximity and scope. Some buyers also hire freelance inspectors who specialize in art and sculpture — they’re more expensive but understand what to look for in a surface finish. If you want to know exactly what we check before shipping, read Chinese Sculpture Factory QC: Inside the 7-Stage Inspection Process.
The factory documents every issue, presents a correction plan with timeline, and re-inspects once repairs are complete. A reputable manufacturer won’t ship a piece that failed QC. Get this written into your contract: specific QC criteria, the process for addressing failures, and your right to reject shipment if critical defects aren’t resolved.
Bronze sculptures are heavier (bronze is about 8 times denser than fiberglass), so the crate base needs reinforced beams and often a steel frame. The surface needs acid-free wrapping to prevent tarnish. FRP is lighter but more vulnerable to point loads — one hard corner of a tool dropped on an FRP surface can crack the gel coat through to the laminate. FRP crates use broader foam contact surfaces to spread the load.
Yes, or have someone you trust there. Note any visible crate damage on the delivery receipt. Open and inspect within 24 hours — most cargo insurance claim windows are 24-48 hours from delivery. Take photos of everything before moving the piece. If the crate looks damaged but the sculpture appears fine, photograph the crate damage anyway — hidden structural issues may show up later.
David Chen is Design Director at Y Sculptures with 18+ years in large-scale sculpture design and fabrication. He specializes in FRP, stainless steel, and bronze sculpture engineering, overseeing design-to-production workflows for theme park attractions, public art installations, and brand IP mascots. David has personally directed over 300 custom sculpture projects for clients across 20+ countries.
Browse real projects matching this topic


Continue reading related articles

Explore our full range of custom sculpture services

Beyond 2D: Why IP Replication Drives Brand Engagement A character that lives only on a screen is easy to scroll...
Learn More →
Engineering Monumental Scale A sculpture that stands 15 metres tall is not simply a 1.5-metre maquette scaled up ten times....
Learn More →
From Concept to Icon Most sculpture enquiries begin with a reference: a licensed character, a film hero, an existing artwork...
Learn More →
One Factory, Every Sculpture Material A sculpture brief rarely arrives pre-sorted by material. A client sends a reference image, a...
Learn More →
Inflatable Sculptures as Brand Media Most sculptural commissions are permanent assets: they are built once, installed once, and admired for...
Learn More →
Custom FRP and fiberglass sculpture manufacturer - design, fabrication, and finishing.
Learn More →
Custom stainless steel, bronze, corten, and aluminum sculpture manufacturer.
Learn More →
Custom Theme Park Sculptures – Bringing Imagination to Life Theme parks, amusement parks, zoos, and entertainment destinations thrive on immersive...
Learn More →
Custom Commercial Sculptures – Elevate Your Brand & Space In today's competitive retail and commercial environment, first impressions matter. Commercial...
Learn More →