
Custom Sculpture Insights & Guides
From Napkin Sketch to Finished Sculpture: A Factory Designer’s Full Process
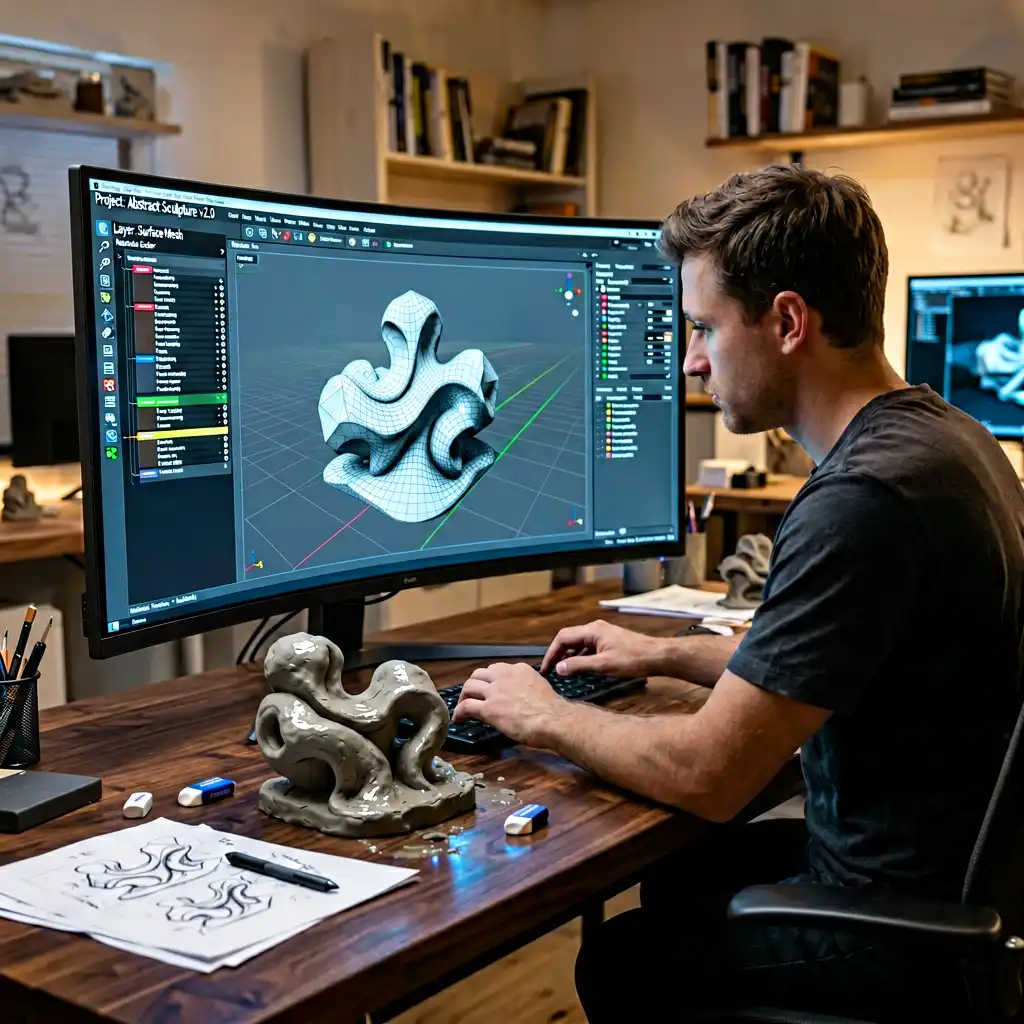
I’ve been a digital sculptor for 12 years and here is exactly how we turn a napkin drawing into a finished sculpture
I work at a sculpture factory in China. Every week, a client emails us a photo of a crumpled napkin, a screenshot of a cartoon character, or a 10-page PDF with reference angles and Pantone codes. My job is to turn that into a real, physical object you can walk around and touch.
Most people think there’s a magic machine that does it. There isn’t. There’s a very specific, very human workflow that has evolved over decades — and in the last 8 years, digital tools have completely transformed it. Here’s the full pipeline, from that first scribble to the truck rolling out the gate.
Step 1: The Brief — What We Need Before We Can Start
Before any custom sculpture desig
work begins, we need to extract a surprisingly specific set of information from the client. The #1 mistake beginners make is sending just a photo and saying “make this.” We need:
| What We Ask | Why It Matters |
|---|---|
| Height, width, depth (or a reference object for scale) | Determines material, cost, structural requirements, shipping method |
| Environment (indoor, outdoor, seaside, desert, rooftop) | Dictates material selection, UV coating, wind load, corrosion protectio |
| Budget range | FRP vs stainless steel vs bronze — the budget decides the process |
| Timeline / deadline | Lost wax casting takes 12-16 weeks. CNC milling can do 6 weeks. Knowing the deadline changes the entire fabrication route |
| Reference images from at least 3 angles | A single front-facing photo leaves the back, sides, and top completely ambiguous |
| Color specifications (Pantone codes preferred) | “Red” means different things to different people. Pantone 186C is specific |
Without all of these, the sculpture proposal will be wrong, and we’ll burn rounds of revisions fixing assumptions. Good clients give us this up front.
Step 2: Concept Sketching — Still Paper (or iPad)
Even in 2026, the first pass is often hand-drawn. Our industrial designer keeps a stack of A3 tracing paper on his desk. He’ll do 5-10 quick perspective sketches based on the brief, scanning for proportion issues, visual balance, and the “wow factor” that photographs can’t capture.
Some clients want to see these rough sketches. Others trust us and skip straight to 3D. The sketches aren’t for the client — they’re for the designer to think through the form before investing hours in a digital model that has the wrong proportions.
For IP sculpture (mascots, character-based designs), this step is especially critical. A character that reads well on a 2D screen can look completely different when translated into a 3D object. The eyes might be too close together. The head might look too small from a side angle. These problems are much cheaper to catch on paper than in clay.
Step 3: Digital Sculpting — Where the Magic Happens
This is the core of digital sculpting. We use ZBrush primarily, with Blender for hard-surface modeling and Rhino for architectural or geometric work. Here’s what that looks like:
The Software Stack
| Software | Best For | Learning Curve |
|---|---|---|
| ZBrush | Organic forms, characters, detailed surface textures, wrinkles, scales | Steep — 3-6 months to be productive |
| Blender | Hard surfaces, geometric patterns, clean topology, free alternative | Moderate — 1-3 months |
| Rhino 3D + Grasshopper | Parametric / architectural forms, precision geometry, fabrication-ready output | Steep — parametric thinking is a different skill |
| Autodesk Maya | Animation-ready characters, complex organic topology | Steep |
| Fusion 360 | Engineering-grade models with structural analysis built i | Moderate — CAD background needed |
The digital sculpting phase takes anywhere from 3 days (simple character) to 3 weeks (complex monumental piece with multiple interlocking elements). We work in layers — building the base form first, then adding detail progressively. At 40-60 hours of ZBrush time, the model has millions of polygons and looks like it could walk off the screen.
The “Suck Less” Pass
Every experienced sculptor knows this unwritten rule: the first version of any digital model will look wrong. The proportions will be off. The expression won’t match the reference. The silhouette won’t read well from 50 feet away.
So we do what I call the “suck less” pass: after finishing the first full model, we step away for a day, come back, and redo 30% of it with fresh eyes. Then we show it to 3 colleagues who haven’t seen it and ask them to describe what they see. If their description doesn’t match the brief, we adjust. This iterative refinement is what separates a good sculpture 3D modeling job from a great one.
Step 4: Client Review — The Rendering That Sells the Idea
Once the digital model is approved internally, we generate photorealistic renderings. This is the moment the client first “sees” what their sculpture will actually look like.
We use KeyShot for most renderings — it handles complex materials (polished stainless steel, translucent FRP, weathered bronze) and environmental lighting (sun, overcast, night with spotlights) in real-time. We render the model from 8-12 angles, at least one in the actual installation environment if photos of the site are available.
For big municipal or corporate projects, we also do an AR overlay video — placing the sculpture rendering into a video of the actual location so the client can see how it interacts with the existing architecture, trees, foot traffic, and shadow patterns throughout the day.
This is also where we finalize material samples. We send physical swatches — a polished stainless steel square, an FRP color chip, a bronze patina sample — because digital renderings of materials are never 100% accurate. The client holds the swatch, tilts it in the light, and says yes or no.
Step 5: Engineering & Structural Validatio
Nobody tells you this, but 90% of the engineering work happens AFTER the design is approved. A beautiful digital model is useless if it falls over in a 70 mph wind.
What Gets Engineered
- Internal armature — The steel skeleton that supports the outer shell. For a 15-foot FRP sculpture, this is typically welded square tubing (1.5×1.5 inch or larger) with cross-bracing at every joint
- Wall thickness — FRP shells are typically 3-6 mm depending on size. Stainless steel fabrication uses 1.5-3 mm sheet metal formed over a frame
- Attachment points — How the sculpture connects to its foundation. Concrete anchor bolts, embedded plates, or flange-mount baseplates
- Wind load calculatio
— Based on local building codes (IBC/ASCE 7 in the US, Eurocode in Europe). The sail area of a 20-foot humanoid figure can generate thousands of pounds of lateral force - Seismic — For installations in earthquake zones (California, Japan, Chile), the base isolation system needs to allow the sculpture to sway without toppling
- Thermal expansio
— A stainless steel sculpture in direct sun can reach 80°C surface temperature in summer. The metal expands. If you don’t account for this, the sculpture will buckle or crack its mount points
Step 6: Mold Making — Where Digital Becomes Physical
Sculpture mold making is the bridge between the digital world and the physical one. There are three primary methods depending on the material:
| Method | Material | Process | Lead Time |
|---|---|---|---|
| CNC Milling | FRP, stainless steel (via positive pattern) | A 5-axis CNC router carves the shape from dense foam blocks (polyurethane or EPS). The foam pattern is then coated, sanded, and used as a plug for mold making | 2-4 weeks |
| 3D Printing (FDM) | FRP (smaller pieces) | Large-format FDM printers (1m³ build volume or larger) print the model in sections, which are assembled, sanded, and used as the mold plug. Cheaper for complex, non-repeating shapes but the surface finish requires more post-processing | 1-3 weeks |
| Lost Wax / Investment | Bronze, brass, aluminum | A wax positive is made from a silicone mold of the clay or printed model. The wax is invested in ceramic shell, burned out, and molten metal is poured in. The most labor-intensive but produces the highest-quality metal finish | 8-16 weeks |
For FRP sculptures, the mold-making step is critical because the quality of the mold directly determines the quality of the final piece. A poorly finished mold produces a sculpture with visible seam lines, air bubbles, and surface defects that require days of hand-sanding to fix.
We typically spend 2-3 weeks on mold preparation alone — sanding the foam plug to 400-grit smoothness, applying multiple coats of tooling gelcoat, and polishing the mold surface to a Class A automotive finish.
Step 7: Fabrication — The Messy, Loud Part
This is where how sculptures are made becomes clear. The fabrication shop is hot, loud, and covered in dust.
FRP Laminatio
For fiberglass sculptures, the process is hand lay-up: layers of fiberglass mat (450g/m² to 600g/m²) are saturated with polyester or epoxy resin and pressed into the mold by hand. Each layer takes 4-6 hours to cure. A typical sculpture needs 3-5 layers for a total thickness of 4-8 mm.
The lamination happens in two halves (left/right or front/back), which are then bonded together along a seam line. The seam is reinforced with additional glass layers from the inside.
Metal Fabricatio
Stainless steel fabrication follows a different path: the digital model is “unfolded” into 2D sheet-metal patterns using Rhino or Fusion 360. These flat patterns are CNC-cut from 1.5 mm or 2 mm 304-grade stainless steel sheet, then rolled, hammered, or pressed into shape over a steel armature. The pieces are TIG-welded together, and the welds are ground smooth and polished to a mirror finish.
Bronze Casting
For bronze pieces using lost wax casting, the process is the oldest of the three: a ceramic shell mold is created around a wax pattern. The wax is melted out in a kiln (the “lost wax” step), leaving a precise negative cavity. Molten bronze at 1050°C is poured in. After cooling, the ceramic shell is hammered away, revealing the raw bronze casting. It’s then chased (welded to fill any casting defects), sandblasted, and patinated.
This step takes 6-10 skilled workers 2-5 weeks depending on complexity. It’s the most expensive phase of the entire project.
Step 8: Finishing & Quality Control
After fabrication, every sculpture goes through a 3-stage finishing process:
- Surface prep — Seam lines are sanded smooth. Air bubbles are filled with body filler. The entire surface is block-sanded to remove any waves or distortion (2-3 days)
- Primer + paint — Automotive-grade 2K primer, sanded flat, then 2-3 coats of polyurethane topcoat. For outdoor sculptures, we use UV-stable marine-grade paint with a 10-year warranty (3-5 days with drying time)
- Clear coat / protective layer — For high-traffic public art, a clear anti-graffiti coating is applied. For sculptures near salt water, an extra UV-resistant clear coat (2 days)
Quality control includes: visual inspection under multiple lighting conditions, tap testing for delamination (FRP), dye penetrant testing for weld integrity (metal), and a full dimension check against the approved 3D model using a laser measurer. Any deviation beyond ±3 mm gets flagged and fixed.
Step 9: Packing & Shipping
A 15-foot sculpture doesn’t fit in a standard shipping container. We build custom wooden crates with internal bracing that matches the sculpture’s contours. Fragile parts (extended arms, thin elements) get foam padding and are sometimes shipped separately for on-site assembly.
Shipping a large FRP sculpture from China to the US costs $2,000-$5,000 for sea freight (40-60 days) or $6,000-$12,000 for air freight (5-7 days). The crate itself can cost $800-$1,500 in materials and labor.
We include an installation manual with every shipment — bolt torque specifications, recommended lifting points, assembly sequence, and a QR code linking to an installation video. Our team is available 24/7 during installation for video calls.
FAQ — What Clients Always Ask About the Design Process
Q: How long does the whole process take from first contact to delivery?
A: For a typical custom FRP sculpture (8-12 feet), plan on 10-14 weeks. Two weeks for design and approval, two weeks for mold making, three weeks for fabrication, two weeks for finishing and QC, 1-2 weeks for crating, and 4-6 weeks for sea freight. Rush orders with air freight can cut this to 6-7 weeks. We walk through the complete fabrication process in our manufacturing guide: How Custom Sculptures Are Made: From Concept to Installation in 10 Steps.
Q: How many revisions do I get on the 3D model?
A: Most shops include 2-3 rounds of revisions in the design fee. Major changes (different pose, different scale, different material) typically trigger a new design fee because they require starting the digital model from scratch.
Q: Can I visit the factory during fabrication?
A: Yes — we encourage it. Many clients travel to China for 1-2 days during the mold-making or fabrication phase to see the work in person and make final surface finish decisions.
Q: Do you offer turnkey sculpture solutions including installation?
A: Yes. Turnkey means we handle everything from design through installation. We can recommend local installation contractors in most major US markets, or send our own team for complex installations. This adds 10-20% to the project cost but eliminates the coordination headaches.
Q: What’s the difference between a design-build studio and a fabrication-only shop?
A: A sculpture design build shop handles both creative design AND fabrication under one roof. This is faster and produces better results because the designers understand the manufacturing constraints. A fabrication-only shop can only build what you give them — if your design has impossible geometry, they’ll call you back and you’ll redesign it anyway. Our manufacturing guide — Custom Sculpture Manufacturing: 7-Step Process Guide — covers everything from mold-making to final finishing.
Q: What material is fastest to produce?
A: FRP (fiberglass) is the fastest — typically 6-10 weeks for a medium-sized piece. Stainless steel takes 8-12 weeks. Bronze (lost wax) takes 14-20 weeks. FRP is also the most cost-effective for complex shapes.
The Bottom Line
The journey from napkin sketch to finished sculpture looks magical from the outside, but it’s a very repeatable engineering and craft process. Every step exists because skipping it causes problems later. A bad brief means a bad digital model. A bad digital model means a bad mold. A bad mold means a bad sculpture. And there is no shortcut between step 1 and step 9.
If you’re planning a custom sculpture desig
project, the single best thing you can do is give your fabricator a complete brief upfront. Download a project questionnaire template, fill it out carefully, and include reference images from every angle. The more work you do on the front end, the better the sculpture will be on the back end.
We have a saying in the shop: “A day in design saves a week in fabrication.” It’s true every single time.
— A factory designer who has turned more napkin sketches into real sculptures than he can count
D
Written by David Chen
David Chen is Design Director at Y Sculptures with 18+ years in large-scale sculpture design and fabrication. He specializes in FRP, stainless steel, and bronze sculpture engineering, overseeing design-to-production workflows for theme park attractions, public art installations, and brand IP mascots. David has personally directed over 300 custom sculpture projects for clients across 20+ countries.
Related Projects
Browse real projects matching this topic
Inflatable Sculpture
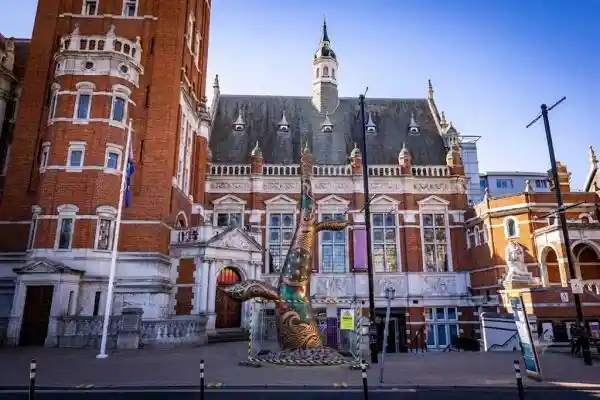
“The Sprout of Knowledge” Public Art Installation
Inflatable Sculpture
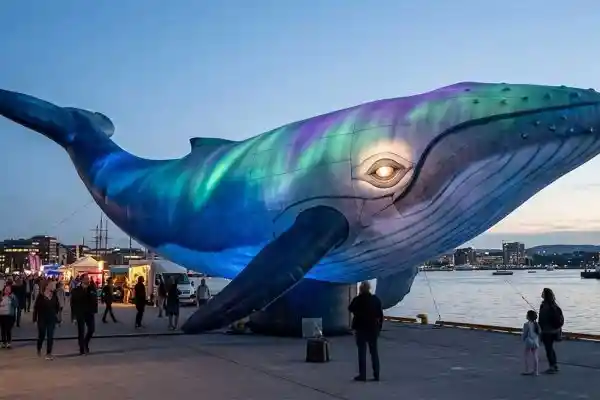
“Aurora Leviathan” — Giant Inflatable Whale Art Installation
Related Insights
Continue reading related articles
Brand Mascot & IP
Oct 13, 2026
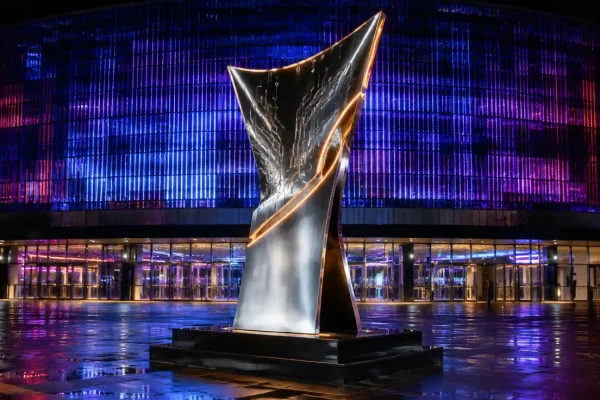
Esports Arena & Gaming Venue Sculpture: Landmarks, Trophies & Mascot Statues
Commercial & Hospitality
Oct 13, 2026
Corporate Lobby & Office Sculpture: Commissioning Guide for Developers
Custom Sculpture Insights & Guides
Oct 13, 2026
How Long Do Outdoor Sculptures Last? Material-by-Material Lifespan Guide
Our Sculpture Solutions
Explore our full range of custom sculpture services

IP Character Replication
Beyond 2D: Why IP Replication Drives Brand Engagement A character that lives only on a screen is easy to scroll...
Learn More →
Large Sculpture Custom
Engineering Monumental Scale A sculpture that stands 15 metres tall is not simply a 1.5-metre maquette scaled up ten times....
Learn More →
Original IP Development
From Concept to Icon Most sculpture enquiries begin with a reference: a licensed character, a film hero, an existing artwork...
Learn More →
Solutions Services
One Factory, Every Sculpture Material A sculpture brief rarely arrives pre-sorted by material. A client sends a reference image, a...
Learn More →
Custom Inflatables
Inflatable Sculptures as Brand Media Most sculptural commissions are permanent assets: they are built once, installed once, and admired for...
Learn More →
FRP & Fiberglass Sculpture Manufacturing
Custom FRP and fiberglass sculpture manufacturer - design, fabrication, and finishing.
Learn More →
Stainless Steel & Metal Sculpture Manufacturing
Custom stainless steel, bronze, corten, and aluminum sculpture manufacturer.
Learn More →
Theme Park Sculpture Services – Custom Amusement Park Statues
Custom Theme Park Sculptures – Bringing Imagination to Life Theme parks, amusement parks, zoos, and entertainment destinations thrive on immersive...
Learn More →
Commercial Sculpture Services – Custom Brand Mascots & Mall Art
Custom Commercial Sculptures – Elevate Your Brand & Space In today's competitive retail and commercial environment, first impressions matter. Commercial...
Learn More →