Inflatable Sculpture
Commissioning a custom outdoor sculpture is a deeply rewarding journey. Whether you are a homeowner looking to elevate your private garden, a corporate developer transforming a commercial plaza, or a public art committee seeking a town landmark, a bespoke sculpture bridges the gap between natural landscapes and human expression.
Unlike buying an existing gallery piece, commissioning a custom work requires navigating structural engineering, weatherproofing, and legal contracts. This comprehensive guide outlines the process step-by-step to help you transform your artistic vision into a durable, breathtaking reality.
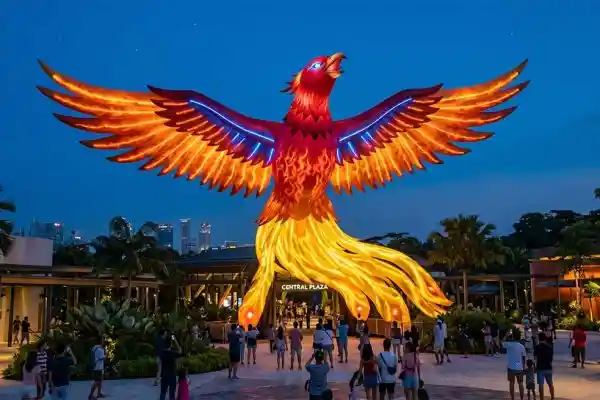
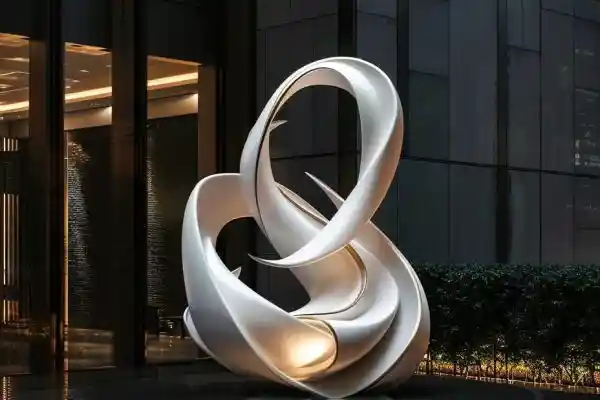
A properly scaled outdoor sculpture harmonizes beautifully with its surrounding landscape
Before reaching out to artists, establish the foundational constraints and goals of your project. This initial planning prevents scope creep and ensures productive conversations with potential sculptors.
The environment dictates both the style and technical requirements of the piece. Take note of:
Scale and Proportions: Measure the open space. A piece that looks massive indoors can easily be swallowed up by wide-open skies and mature trees.
Sightlines: From which angles will people view the artwork? Is it a central focal point or a hidden garden surprise?
Surrounding Elements: Consider the architectural style of nearby buildings, existing flora, and changing seasonal colors.
For a complete breakdown of what affects pricing, see our Custom Large Sculpture Cost Guide 2026.
Outdoor sculptures require significant capital beyond the artist’s creative fee. Your total budget must account for material costs, structural engineering reviews, shipping, foundational site work (such as pouring a concrete pad), and installation equipment like cranes.
A custom outdoor sculpture rarely takes less than three to six months, and large-scale public installations can easily span over a year. Factor in lead times for raw material sourcing, structural curing, and seasonal weather delays during outdoor installation.
Finding an artist who matches your aesthetic taste and possesses the technical skills to handle outdoor elements is critical.
Public Art Registries: Platforms like CODAworx or local government arts council websites maintain databases of experienced public artists.
Art Advisors and Consultants: For complex projects, hiring an art consultant can streamline the sourcing and vetting process.
Social Media and Art Fairs: Platforms like Instagram allow you to discover emerging sculptors by following hashtags like #PublicArt or #MetalSculpture.
Not all talented sculptors understand the rigors of the outdoors. Look closely at their portfolios to verify that their works stand the test of time against sun exposure, moisture, and wind load.
| Material | Expected Longevity | Maintenance Level | Best For |
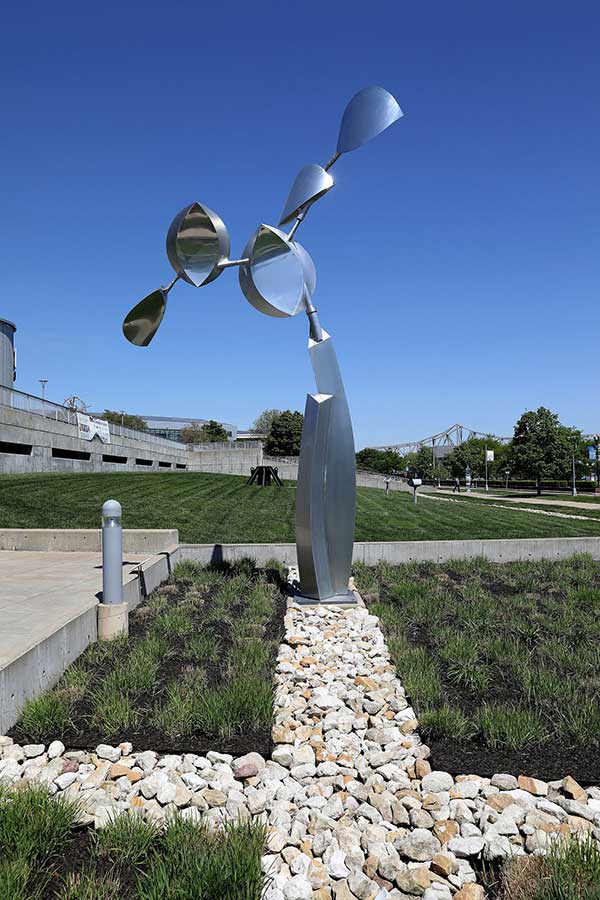
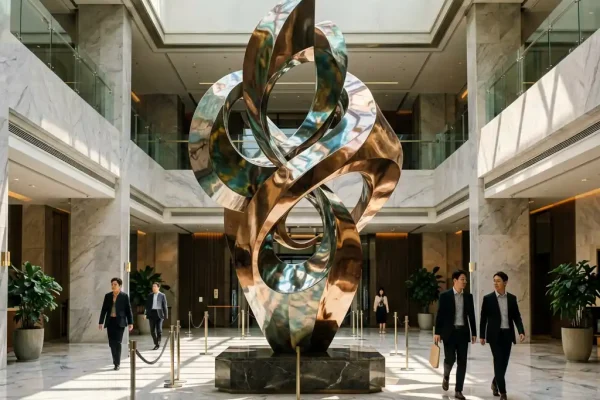
| Stainless Steel | Outstanding (decades) | Low (occasional wash) | Modern, kinetic, high-traffic areas |
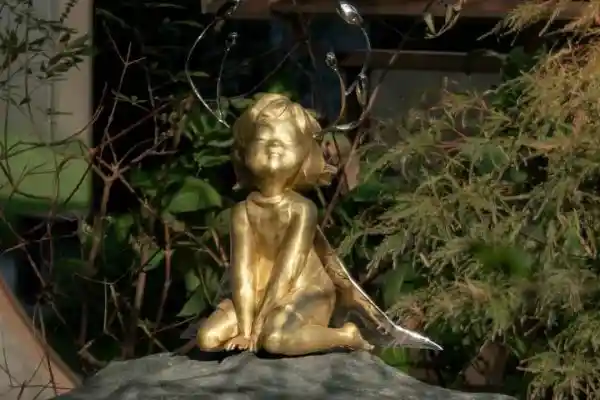
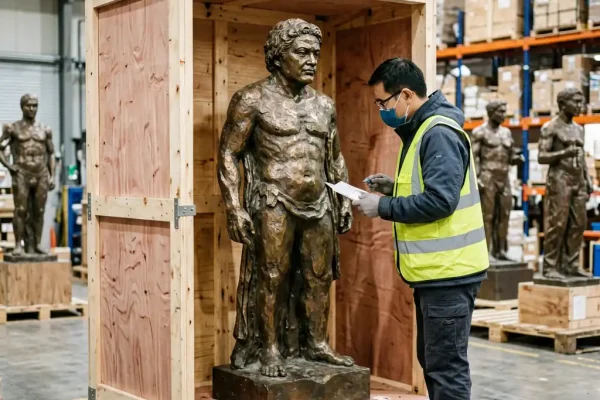
| Bronze | Exceptional (centuries) | Medium (annual waxing) | Classical, figurative, legacy pieces |
| Corten Steel | High (develops protective rust) | Low (no paint needed) | Industrial, rustic, natural gardens |
| Stone (Granite/Marble) | High (susceptible to freeze-thaw) | Low to Medium | Permanent, monolithic installations |
Choosing the right material early in the design process is critical. Compare options in our Fiberglass vs Bronze vs Stone material guide.
Once you select your artist, you will enter a collaborative design loop. This phase transforms rough ideas into precise physical blueprints.
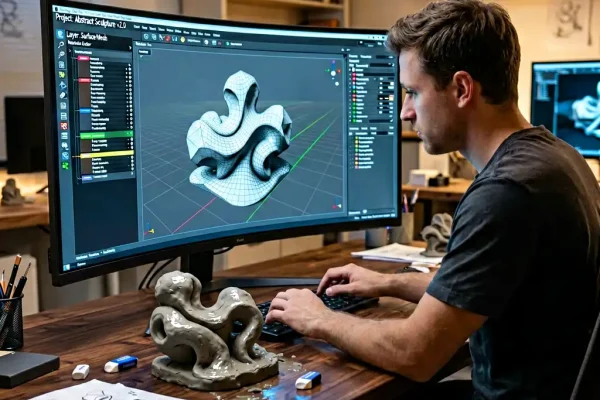
You will provide the artist with your site parameters, budget, and thematic goals. The artist will return with initial 2D sketches or digital 3D renderings showcasing their interpretation.
For a small design fee (usually deducted later from the total commission), the artist will build a maquette—a small, physical scale model of the sculpture. This physical representation lets you see exactly how light shadows play across the surfaces and helps you catch any proportional issues before expensive raw materials are cut or cast.
Clear boundaries prevent broken expectations. Never move into full fabrication without a signed commission contract. Ensure your legal agreement covers these vital protections:
Payment Milestones: The industry standard utilizes a tiered structure. For example: 33% upfront for material deposit, 33% upon midway fabrication approval, and 34% upon successful installation.
Design Approvals: Explicitly state that the artist must receive written sign-off on the design phase before starting full-scale construction.
Copyright and Intellectual Property: Usually, the artist retains the copyright (and the right to show photos of the work in their portfolio), while you buy the physical property rights.
Maintenance Instructions: The contract should mandate that the artist provide a written, long-term care guide tailored to the chosen medium.
At this stage, your project enters production through our Large Sculpture Custom Service, where our engineers and artisans bring your vision to life. We walk through the complete fabrication process in our manufacturing guide: Custom Sculpture Manufacturing: 7-Step Process Guide.
With contracts signed, the artist moves into their studio to begin the physical work.
For large-scale public or commercial pieces, a licensed structural engineer must review the drawings. They calculate wind load forces, soil mechanics, and weight distribution to ensure the art piece cannot tip over, snap, or become a hazard during a major storm.
Request photographic updates or schedule a studio visit midway through fabrication. Catching an incorrect curve or structural deviation is far easier when the piece is still in pieces on the studio floor than when it is fully welded and treated.
For park and garden projects specifically, review our 7 Essential Questions before finalizing your installation plan.
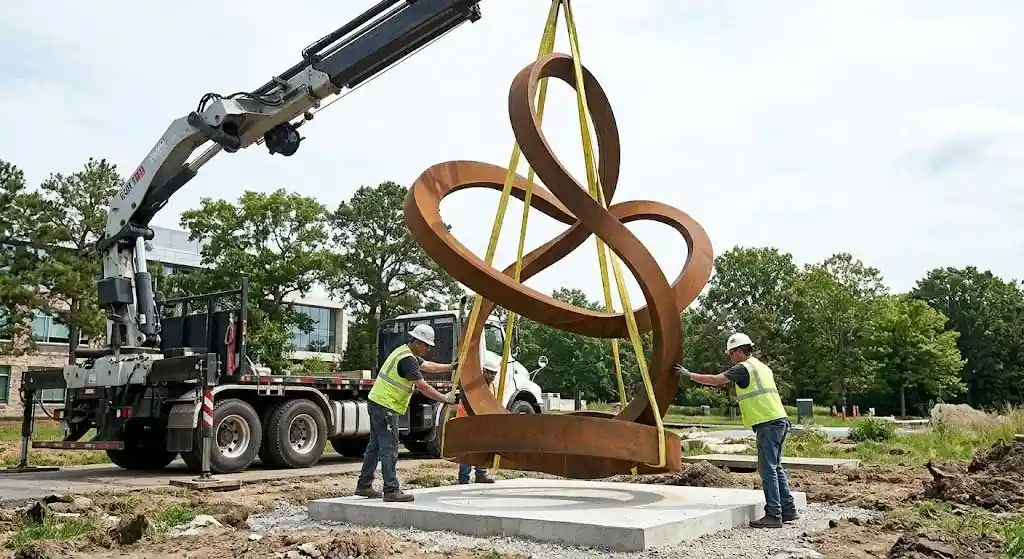
The final step requires careful logistical coordination between the artist, the site owners, and contractors.
A Note on Lighting: Don’t let your investment disappear when night falls. Plan for low-profile landscape lighting, such as well lights or directional LED spotlights, to accentuate the sculpture’s geometry after dark.
Once your sculpture is safely installed, follow the artist’s maintenance manual faithfully. For metal pieces, this often involves a simple seasonal pressure wash with mild soap or an annual reapplication of specialized paste wax. Treating maintenance as a regular ritual ensures your custom outdoor artwork remains a stunning, vibrant landmark for generations to come.
David Chen is Design Director at Y Sculptures with 18+ years in large-scale sculpture design and fabrication. He specializes in FRP, stainless steel, and bronze sculpture engineering, overseeing design-to-production workflows for theme park attractions, public art installations, and brand IP mascots. David has personally directed over 300 custom sculpture projects for clients across 20+ countries.
Browse real projects matching this topic
Continue reading related articles
Explore our full range of custom sculpture services
Learn More →
Learn More →
Learn More →
Learn More →
Learn More →
Custom FRP and fiberglass sculpture manufacturer - design, fabrication, and finishing.
Learn More →Custom stainless steel, bronze, corten, and aluminum sculpture manufacturer.
Learn More →Custom Theme Park Sculptures – Bringing Imagination to Life Theme parks, amusement parks, zoos, and entertainment destinations thrive on immersive...
Learn More →Custom Commercial Sculptures – Elevate Your Brand & Space In today's competitive retail and commercial environment, first impressions matter. Commercial...
Learn More →